How do I insert a table using the Rich Content Editor?
You can use the Rich Content Editor to insert and format a table.
Open rich content editor
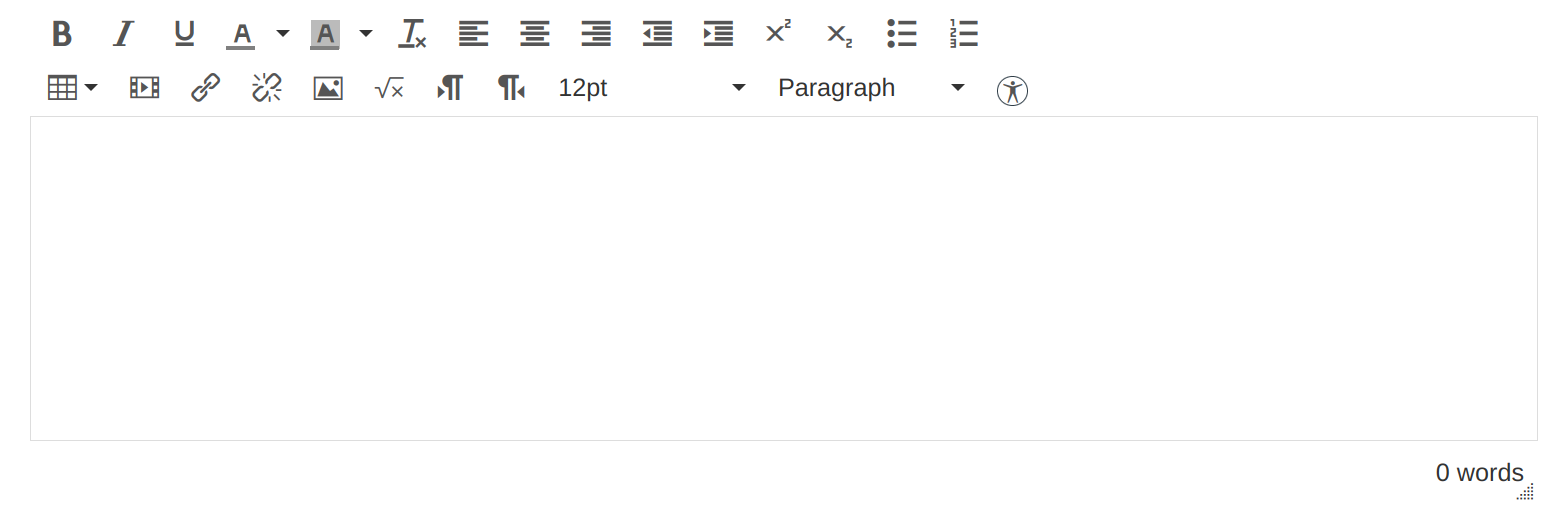
Open the Rich Content Editor using one of the Sublime LMS ™ features which support the Editor.
Open Table Creator
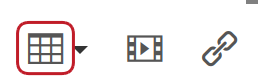
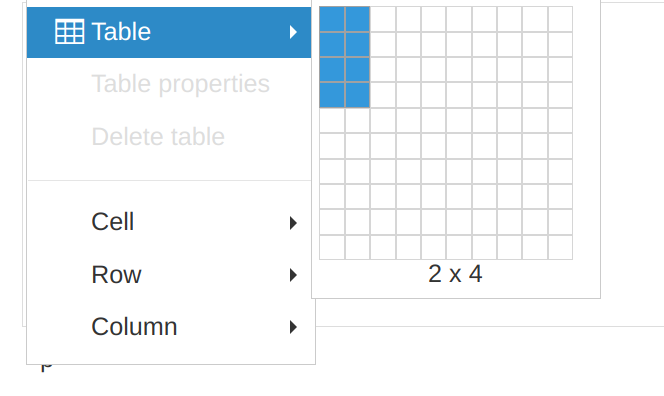
Click the Table icon to open the Table Creator.
Edit General Table Properties
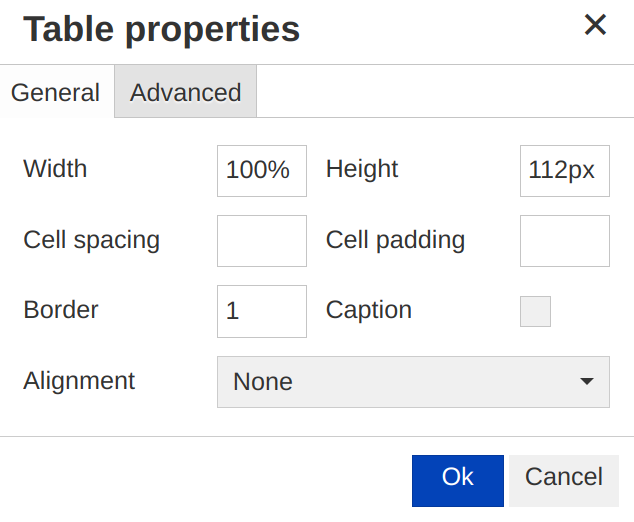
Edit the general properties of the table by typing in the appropriate fields.
- Cell Padding: The space between the cell border and its content (in pixels, e.g. 5px).
- Alignment: The location of your table on the page.
- Width: The width of your table (in pixels or percent, e.g. 500px, 50%).
- Class: The name of the table element. This is optional unless you are an advanced CSS user.
- Table Caption: The table label is displayed on top of the table.
- Cell Spacing: The space between individual cells as well as cells and table borders (in pixels, e.g. 3px).
- Border: The thickness of your table border (in pixels, e.g. 5px).
- Height: The height of your table (in pixels or percent, e.g. 500px, 50%).
Note: Currently, you are unable to edit the number of columns and rows once you insert a table in the Rich Content Editor.
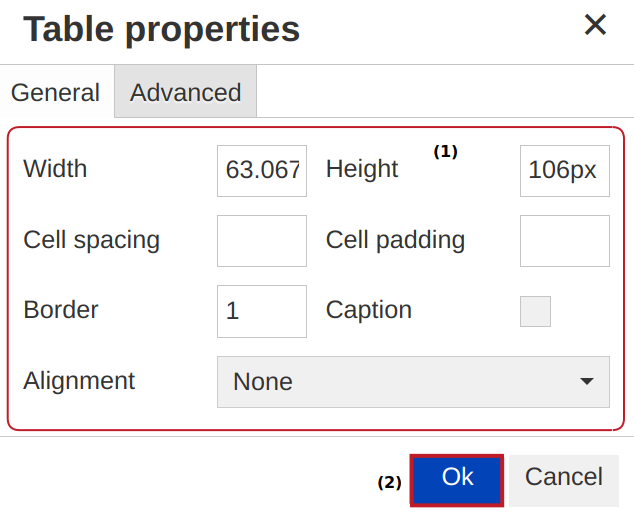
Edit Advanced Table Properties
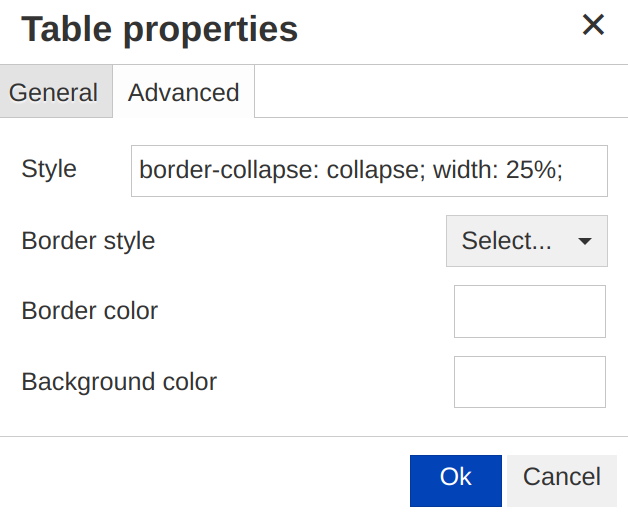
Click the Advanced tab to edit the advanced table properties. Some elements in this tab are more suited for advanced users with knowledge of HTML and CSS and provides additional possibilities for table design.
Basic users may still be interested in the following options:
Background Image: The location of the background image for the table. List as a URL.
Border Color: The color of your table border. You can either type in the hexadecimal RGB number for the color you want (in #nnnnnn format) or you can browse from the color drop-down menu.
Background Color: The color of your table background. You can either type in hexadecimal RGB number for the color you want (in #nnnnnn format), or you can browse from the color drop-down menu.
Insert Table
Click the Enter button to create the table.
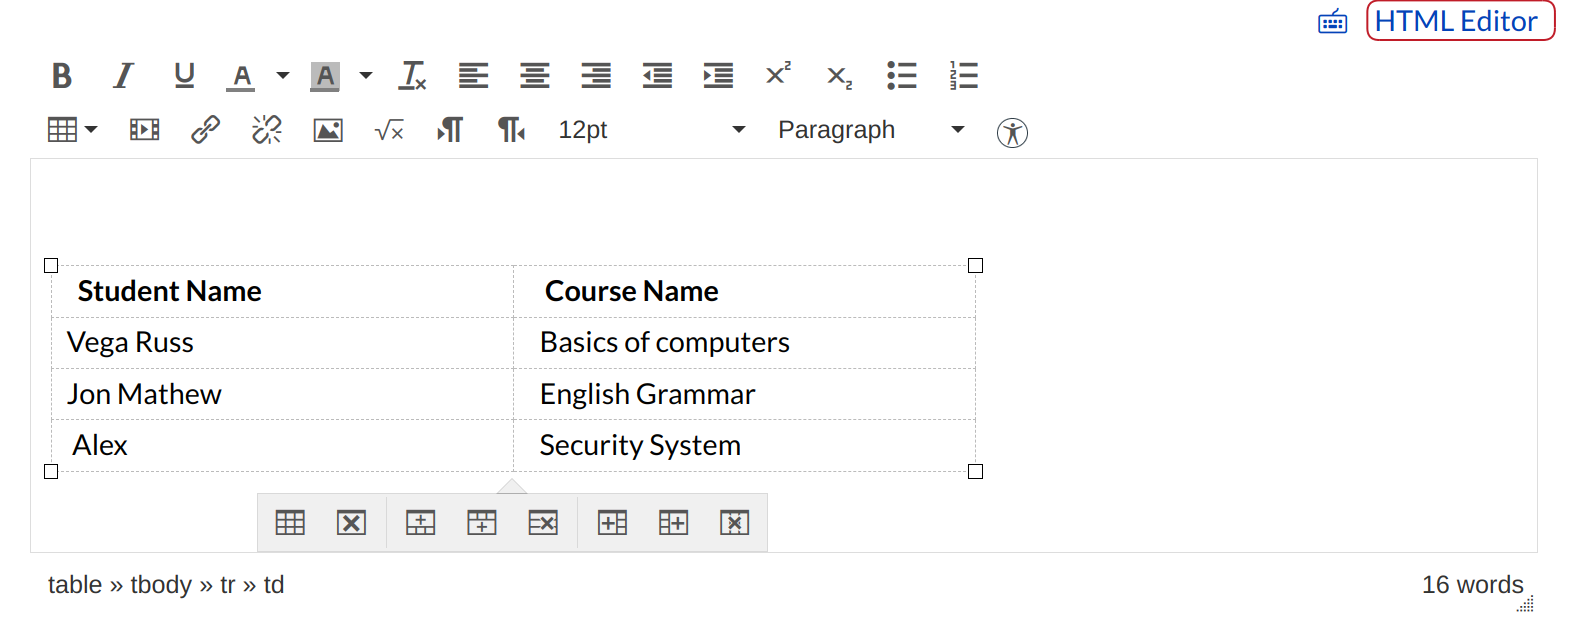
View Table

View the table.
Edit Table

To edit the table content, select the table [1], then click the Table icon [2] in the Rich Content Editor.
Edit Table Content
Update your table by changing the necessary fields in the table editor [1].
Note: Currently, you are unable to edit the number of columns and rows once you insert a table in the Rich Content Editor.
When you are finished, click the Update button [2].
Delete Table
To delete a table, click the Switch Views (HTML Editor) link.
View HTML Editor
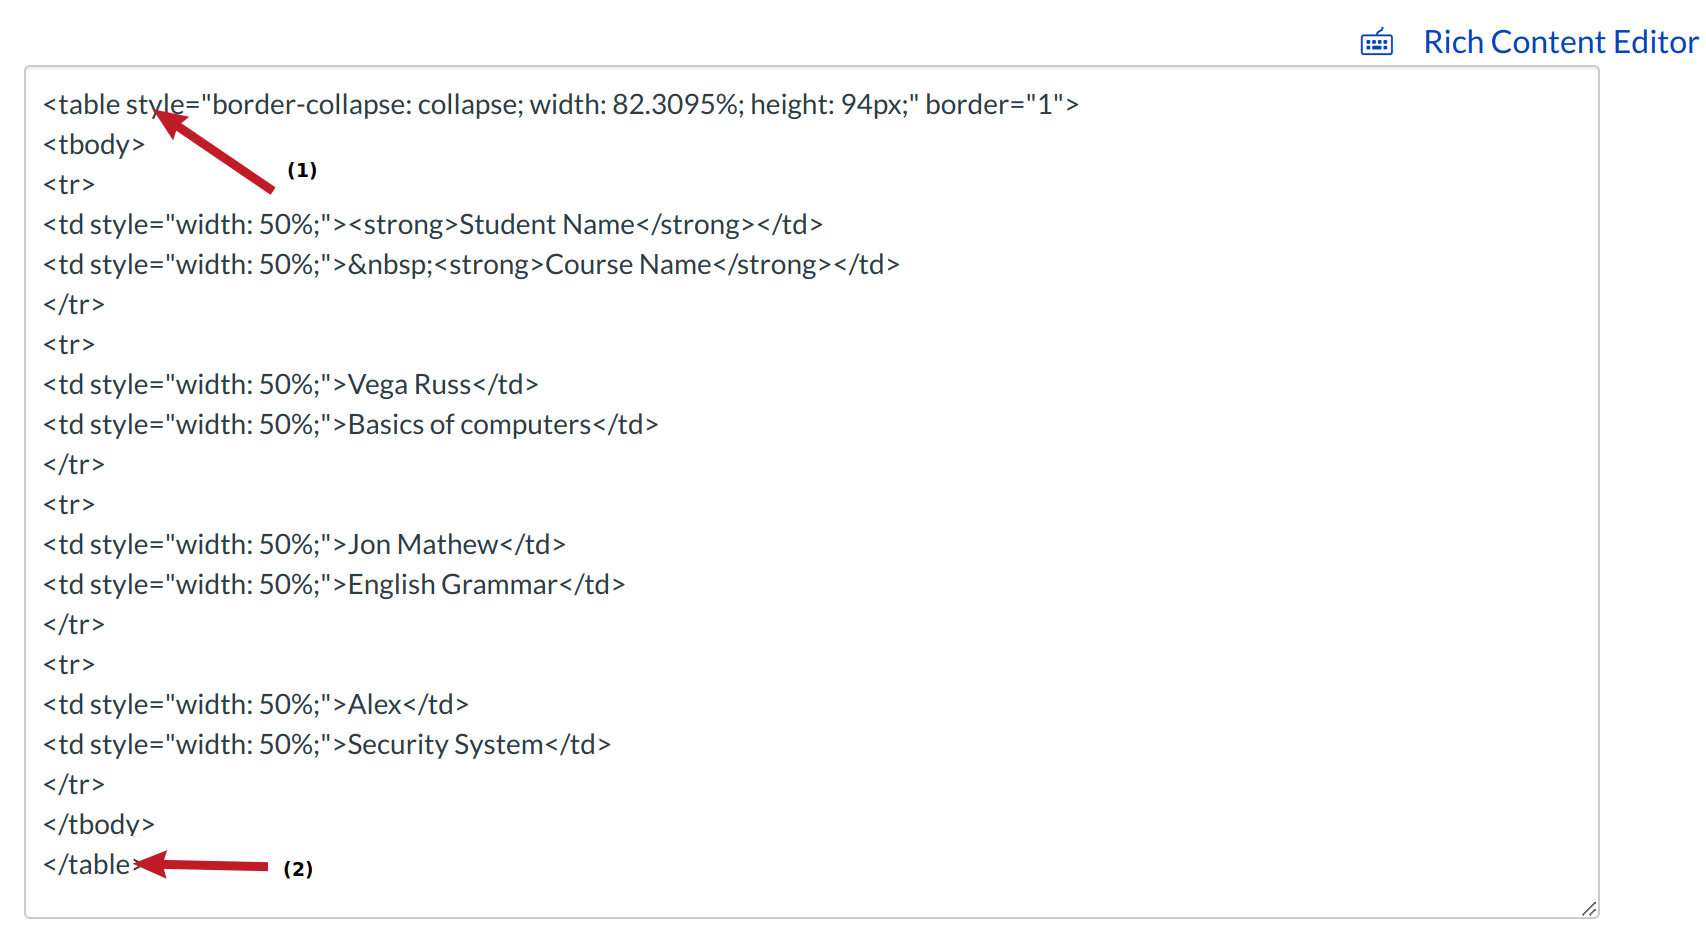
Select the HTML code between the <table> [1] and </table> [2] tags and press delete or backspace.
Save changes

Click the Save button.